While Pym Particles were helpful to shrink Scott Lang in the movie Ant-Man™, you probably won't be able to get your hands on any in the real world — so there has to be a better way to shrink your images.
The Better Way to Shrink Your Images
Hopefully, you ARE compressing or optimizing your images for your website and not putting them up straight from your multi-mega-pixel camera. Digital cameras today produce high-resolution images to give you a better quality picture. This is great when you want to print that exceptional photo onto a poster. However, you don't want that high of a resolution on your website (and neither do your visitors on their mobile phone).
A full HD monitor has a resolution of 1920x1080. A 20-megapixel camera is easy to find these days under $200 and produces images in the range of 5800x3800 — that is 3 times larger than needed on a Full HD monitor.
Here are 2 Steps to ready your images for your website
Click the thumbnail to see a 20 megapixel image that is 5770 x 3847 and the filesize is 6.5 MB (which is 6,500 KB)
Optimizing Step 1: Scale down your image. This involves reducing the number of pixels in the file. You can use installed software like Photoshop (not covered in this blog) or use the Step 1 link on our Image Resources page. Once on the SimpleImageResizer website, just choose your large photo by clicking Select Image and browsing to your photo on your computer. Then select Dimensions and enter the desired width (I entered 1920 in my example). You don't have to enter a height because the website will calculate the correct height. Now, click Resize, and your file will be resized down to the dimension you specified. You will see a download link. Click that link and your image will appear on screen that you can now right-click and Save Image As... to download it to your default browser's downloads area. That's it for step 1.
Click the thumbnail to see the scaled image after Step 1 that is now 1920 x 1280 and the filesize is 590 KB
Optimizing Step 2: Compress your image. This step keeps your image resolution (number of pixels: width x height) the same but an algorithm reduces the filesize (the number of bytes on disk). The smaller the filesize the quicker the transfer across the web and the happier your visitors will be (not to mention... happier search engines — it is true).
To perform compression without having any specialized software installed, go the Step 2 link on the Image Resources page. You can click inside the dotted box beside the Panda and browse to upload your file that you reduced in Step 1. Once you select your file, it will upload, and TinyPng will compress the file and provide a download link. Note: TinyPng does not rename your file — so if you uploaded to them from your download folder, once you click the download link it is going to download in the same folder as your scaled image and your computer will probably add a (1) to the image (ie: image.jpg (1) ).
Click the thumbnail to see the final optimized image that is still 1920 x 1280 but the filesize is down to 436 KB -- a 93% reduction from the original and the quality for the web is still great!
So in 2 steps and most likely less than 2 minutes, you can take a 20-megapixel picture from your camera that will probably be around 5 to 6 megabytes and optimize it down to less than 500 kilobytes (actual results will vary). Two minutes of your time for each image is worth the benefit you'll get from happy search engines and happy customers.
Where to Get Images for Your Site
While we're talking about images for your site... where can you get good images? If you're selling a product or showing an image of your location it is better to take pictures. Nothing beats a genuine image of the actual product or your facility. However, if you don't have the photography skills or the budget for a professional photographer, you can go with stock images shot by a skilled photographer. Here are some dos and don'ts.
DO NOT Get Your Images this way
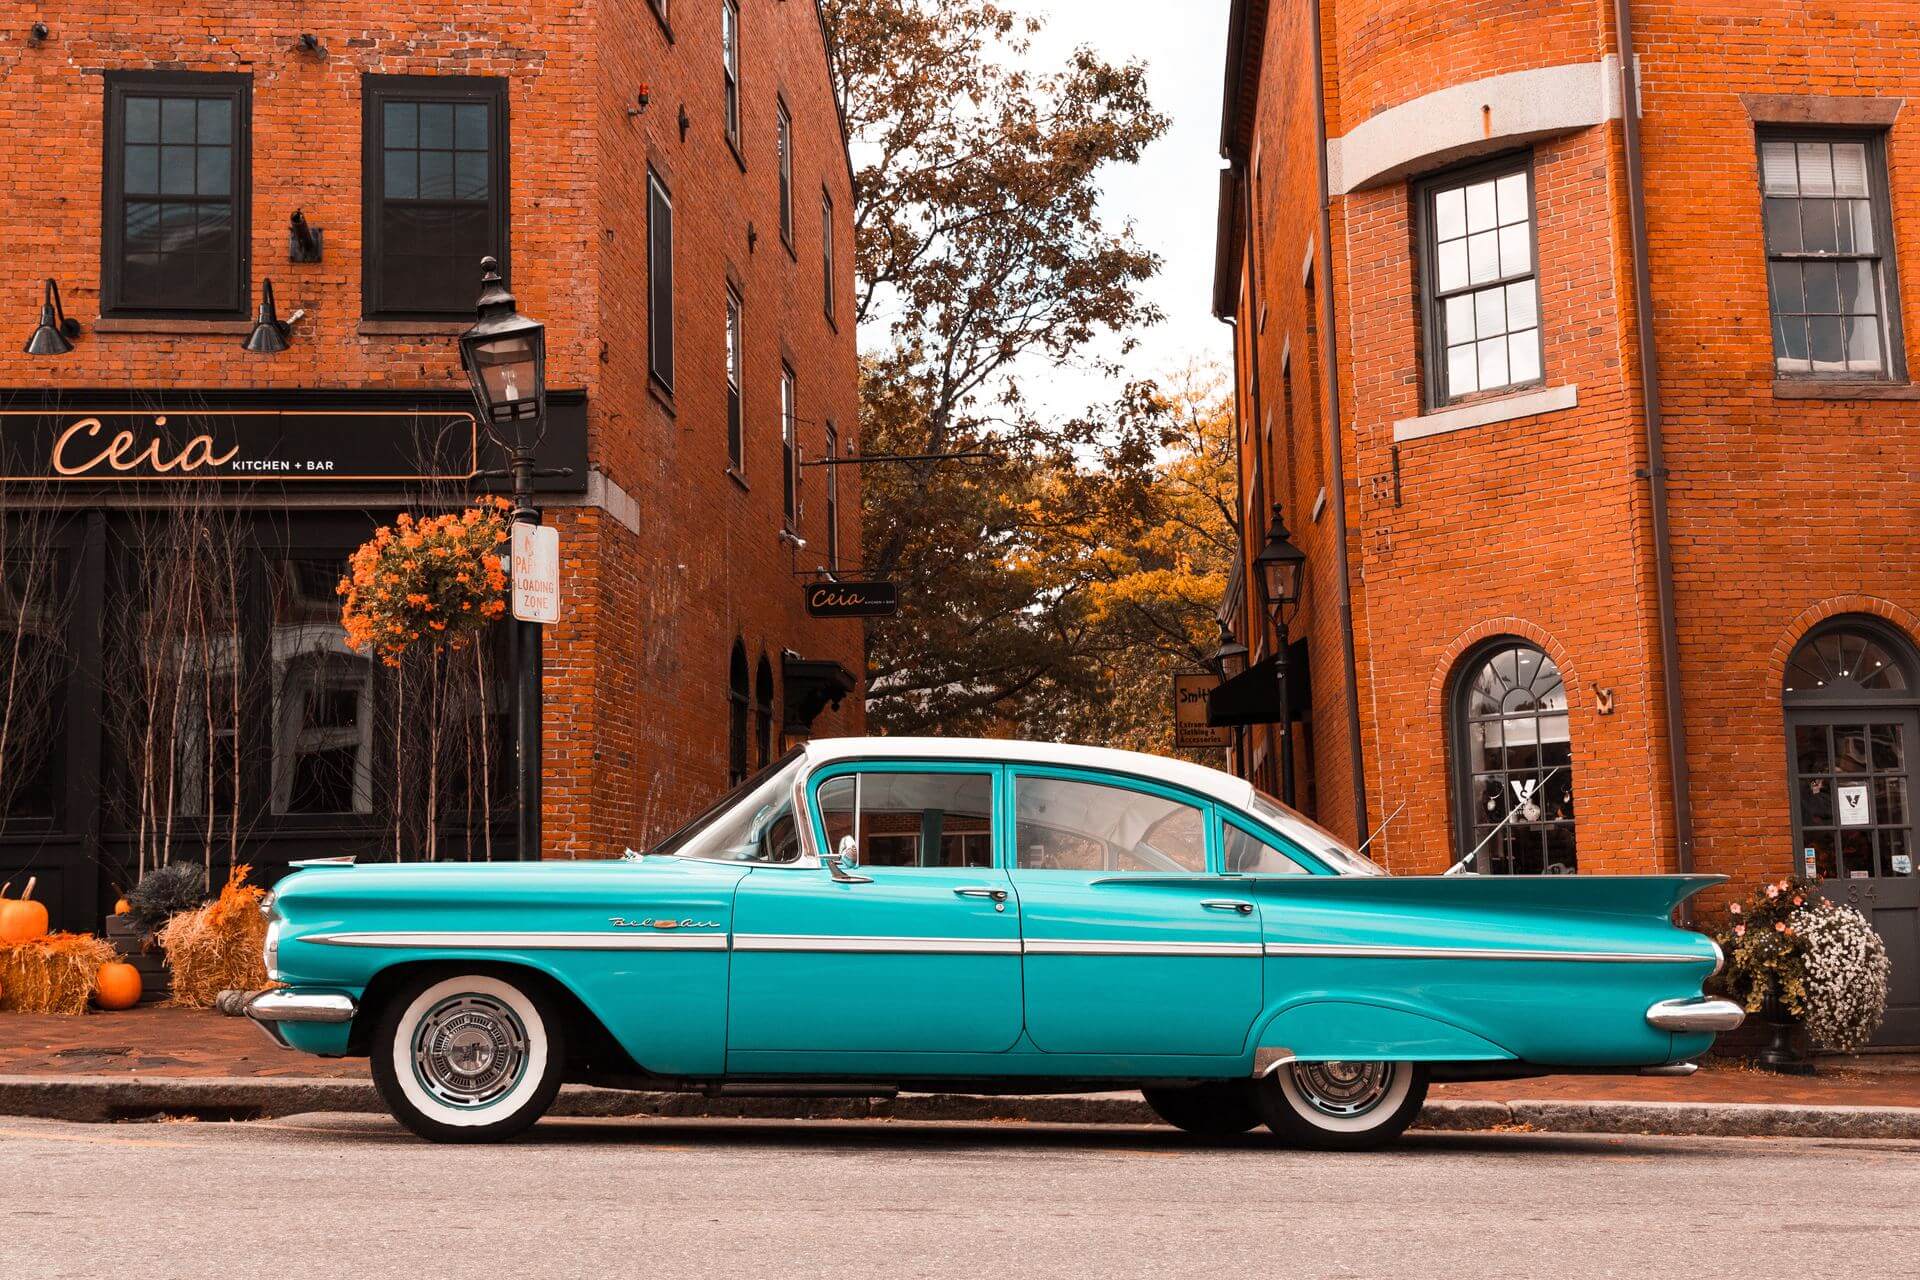
If you open your favorite browser and go to your favorite search engine and type some keywords about the photo you're looking for (let's say, vintage cars if your business is restoring cars)... you will get some results. At the top of the screen below the search box are different types of searches and one is Images. Clicking this will show numerous images found by your favorite search engine and cataloged under those keywords. However, these images are NOT public domain and typically ARE NOT FREE. I would dare say even most of these are copyrighted — SO DON'T USE THEM.
DO Get Your Stock Images like this
You want stock images — these are intended to be licensed for a purpose. You pay a fee that goes to the photographer that supplied the image and you get a license to use that image for a specific purpose. You have to read the license and find out what can be done with the image. We use stock images in areas around our site as well as for our clients if they don't have images to send to us. So we have included a couple of sites we like on our Image Resources page — Photodune and Unsplash. Check them out the next time you're looking for a true stock image. And when you do get one, don't forget to optimize them for the web.
Scott began his career in IT after graduating from Mississippi State University in 1994 as a Computer Engineer. After many years of supporting users and writing and maintaining software, Scott formed Chase Computer Services in 2005.
(Click name above to view profile page)
Cookie Notice
Find out more about how this website uses cookies to enhance your browsing experience.